When starting a new e-commerce business the first thing you need to focus on is building a website that sells.
A popular Content Management System (CMS) that can help with that is WordPress. Powering 32.2% of all websites as of Nov 2018, and holding over 59% of the CMS market share, WordPress is the most widely used CMS in the world (statistics sourced from W3Techs.com).
WordPress offers an easy-to-use interface – even a layman with basic knowledge can build websites on it. Here, we’ve put together a guide to help you make an engaging and highly functional e-commerce website.
Though the development of a fine-tuned e-commerce platform depends on many factors, the following can be considered the four essentials of an e-Commerce website.

As revealed in a 2016 study, over half of all sessions on e-commerce sites were carried out via mobile. As of 2018, mobile phones generate 52.2% of all global internet traffic.
Also taking into consideration the rise in popularity of tools such as voice search and chatbots, mobile-friendly websites are mandatory for online businesses.
Lucky for us, WordPress provides countless plug-ins to help develop a mobile-friendly platform.
Hopefully, your products are the main reason why people are visiting your website. It’s where all the substance resides, so it’s no surprise that product pages alone should feature over 30 details.
Couple that with the fact that 38% of visitors will simply leave your site if they don’t find it attractive, a well-planned product page can not only increase the time spent on your site but also serve as a critical factor in your sales funnel.
Your e-commerce site needs a checkout cart – a no-brainer, right? Of course. However, did you know that so much more goes into an effective cart than just the mere presence of one?
28% of shopping carts are abandoned because the process took too long, and 37% of online shoppers call it quits because they’re requested to create an account on the checkout page.
A strategic checkout page can be the difference between more fuel for your bounce rate or a higher conversion rate.

Just how important is the content on your e-commerce site? For starters, 85% of online shoppers believe that detailed product information strongly influences their purchasing decision.
Whether it be a list of informative FAQs, your convenient return policy, or persuasive calls to action, no e-commerce site is complete without great copy – preferably optimized for SEO.
There are a number of factors that contribute to the widespread use and popularity of this CMS. From ease of use to the flexibility and functionality, WordPress offers a number of features that stand unrivaled by other content management systems.
WordPress provides full access to the customization of your website, allowing you to use your own fonts, layouts, and themes.
With WordPress you can adjust your website accordingly and use any a template of your choosing that is suited to your needs.
You can find new, free templates on marketplaces such as Envato and ThemeForest that you can download and use on your WordPress website.
WordPress also features a wide array of plugins, ready to be downloaded with just one click.
These plugins are designed to assist you in the development of your website, considerably simplifying the process. Some useful e-commerce plugins include:
Woocommerce is a must have WordPress plugin. It is an open source platform that allows users to build a multi-language store, opening up your website to customers all over the world.
Ecwid is an e-commerce shopping cart plugin that can give your users an easy-to-use cart function on your WordPress website.
A premium WordPress plugin, Yoast SEO handles the technical optimization of your website and allows you to optimize your content for search engines.
Another SEO and user-experience-enhancing plugin, W3 Total Cache helps improve your website’s loading time and gives you more control over its cache.
One of your top priorities should be to allow customers to contact you easily in case of any problems. WPForms helps you do this easily and efficiently. Other prominent WordPress plugins include Jigoshop, MarketPress, WP eCommerce, Cart66, Easy Digital Downloads, etc.
WordPress is supported by an unrivaled community of developers, who offer new designs, templates, and assets on a daily basis.
The available choices of WordPress plugins alone are enough to tell you how diverse the developers are in terms of designing and development.
Together they also provide one of the most robust support communities that are available to answer any of your technical questions and needs.
Whether you’re looking for a quick process or an extensive build of a perfectly optimized platform to get your store up and running, WordPress is just as comprehensible either way.
The first thing you need to do is register a domain. You can do this using a number of hosting services out there, such as InMotion hosting, 1&1 IONOS, GoDaddy, Bluehost, HostGator, etc.
In order to do so, go to Hosting Site > Get Started > Choose a Plan > Sign Up.
Here you will be able to select an available domain name, fill in the necessary information, and select additional services.
Once done, you will receive an email on your registered email address which will allow you to log in to your domain.
Next, you need to install WordPress.
Popular Auto Installers, including the following, can help automate the installation process:
You can also use WordPress on the web, which is a compact version of the app.
Next, sign up to WordPress by either creating a new ID or simply using your existing Gmail ID.
Those who already have a pre-existing WordPress account may simply log in.
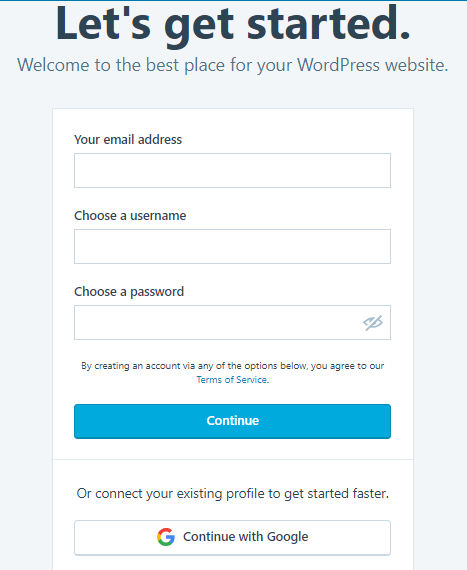
Once you’ve logged in and submitted all required information, WordPress will lead you to your Admin page – this is where the magic happens.
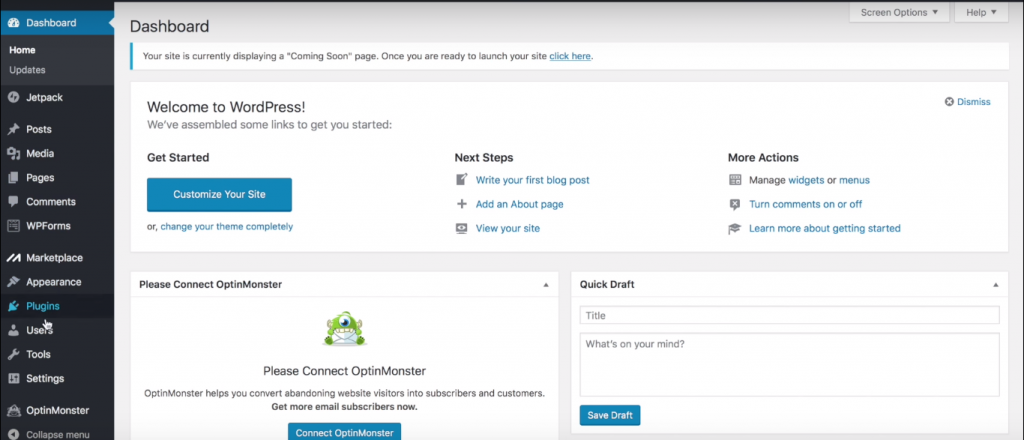
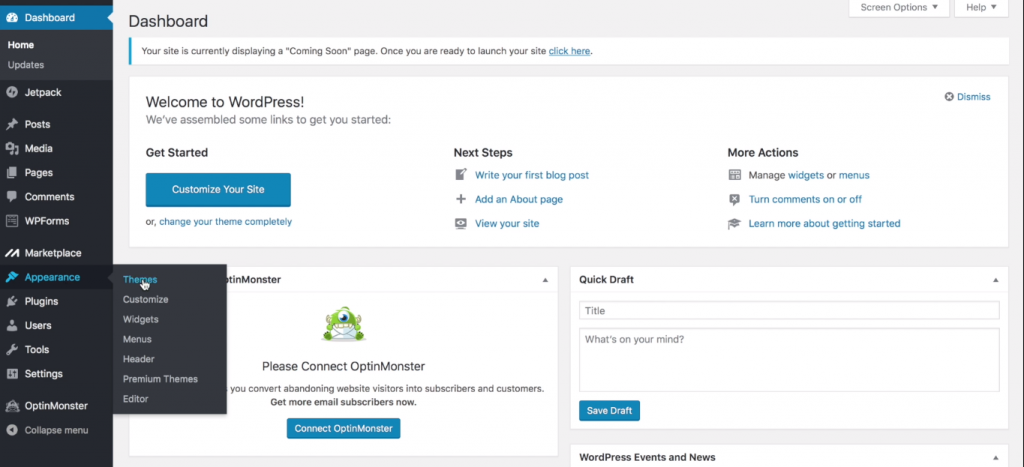
WordPress Admin will guide you through the process of picking out a responsive theme tailored to the needs of your store.
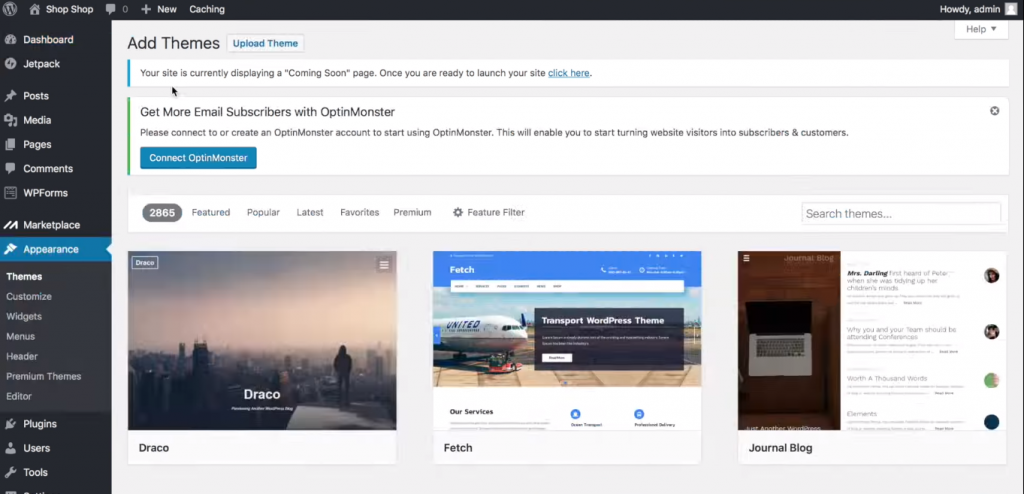
While WordPress offers a wide selection of pre-made themes for users to choose or buy from, it also allows users to upload their own themes.
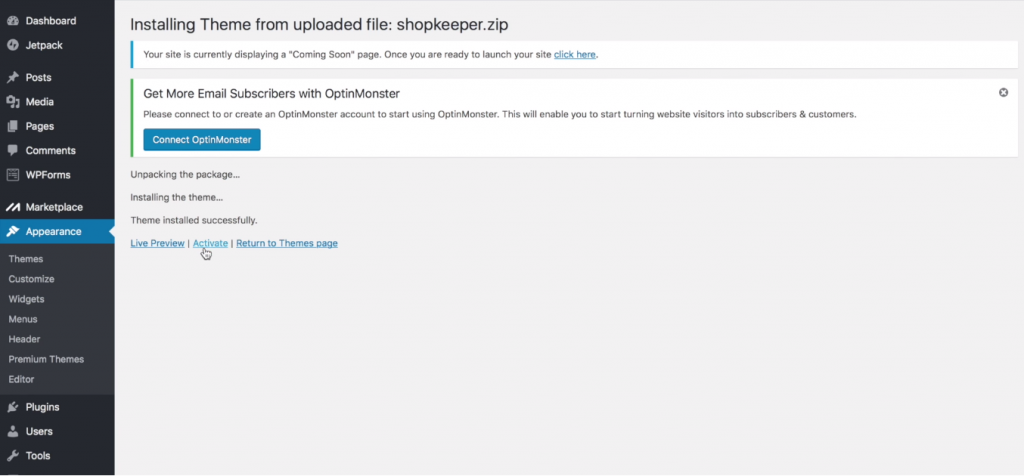
If you’re using WordPress 2.7 or above, you can purchase, download, and install plugins for your website directly from the Admin page. A list of common and useful plugins has been listed above.
To install these plugins.
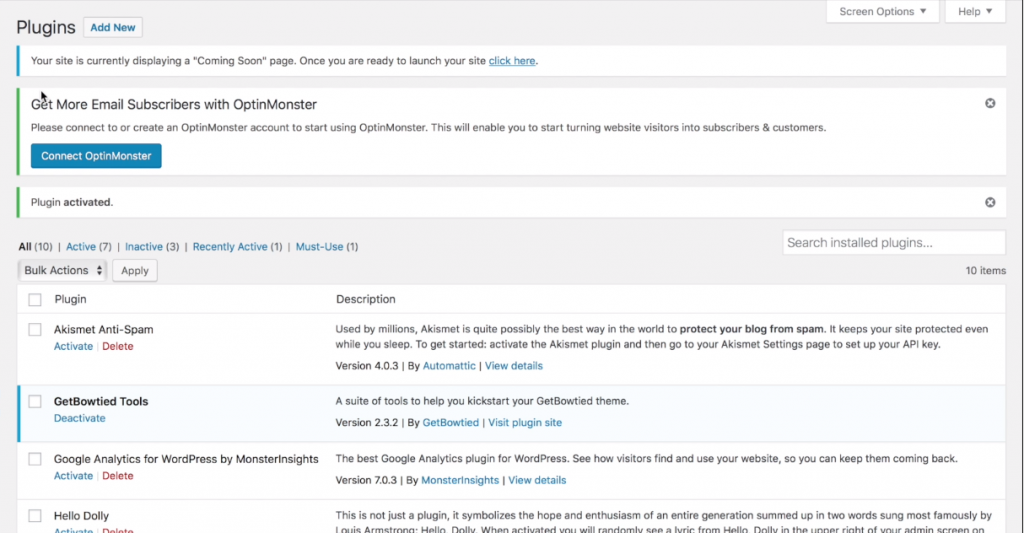
Next, click Activate from the same drop-down and click Apply again.
Your plugins are now ready for use. You just have to:
This will install the default pages that the plugin contains. For example, WooCommerce has Cart, My Account, and Checkout pages associated with it.
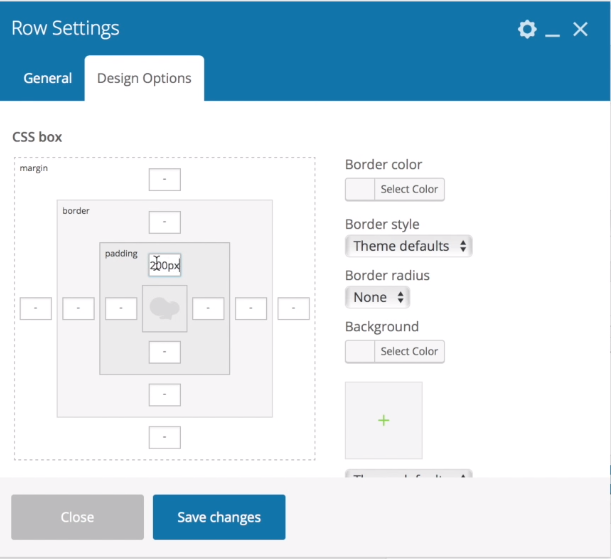
The themes will have images that might be too big or small for you. To reshape plugin images:
At this time you can upload custom images onto your site, as well. You can resize these images easily using Regenerate Thumbnails under the Tools tab.
Once you are satisfied with your logo and other images, it’s time to start setting up your website’s layout — think of it like arranging the furniture in your house.
To do so:
Here you will see several options, each of which you can adjust according to your requirements.
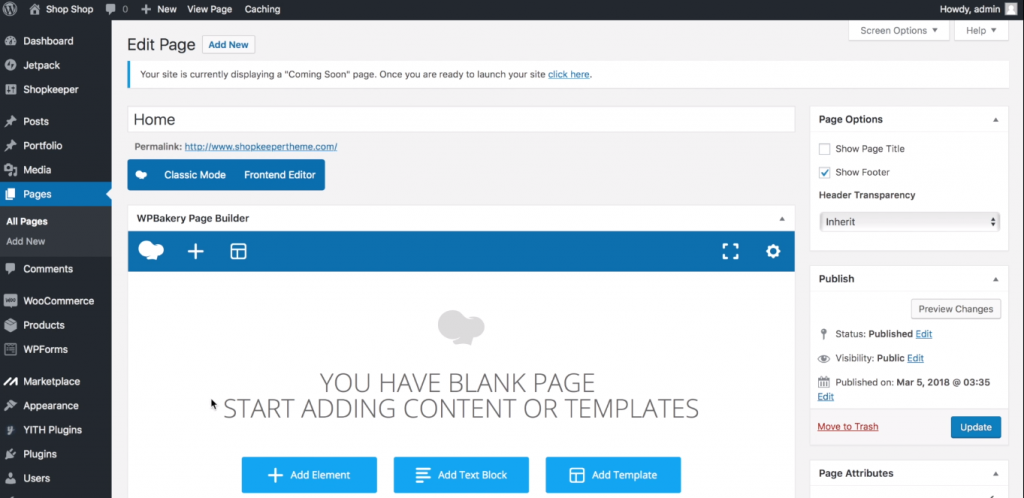
These will allow you to add elements, text blocks, or downloaded templates to style your homepage.
Clicking on the ‘+’ sign will allow you to edit:
To make your own logo, you can use several plugins, one prime example being LogoMakr.
Search and choose a suitable image for your logo
To create a homepage or blog:
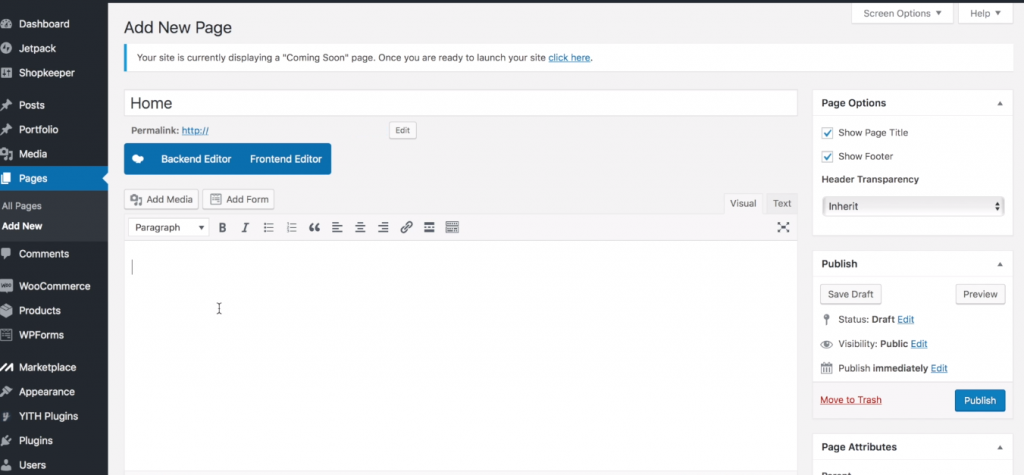
The Pages tab on your left can be used to cycle between your landing page and others.
At this point, you should start filling up your site with blog posts, articles, infographics, videos, or any other form of media that you think might help increase traffic.
Yoast SEO is a very helpful tool in this regard, as it helps you determine how SEO optimized your site is.
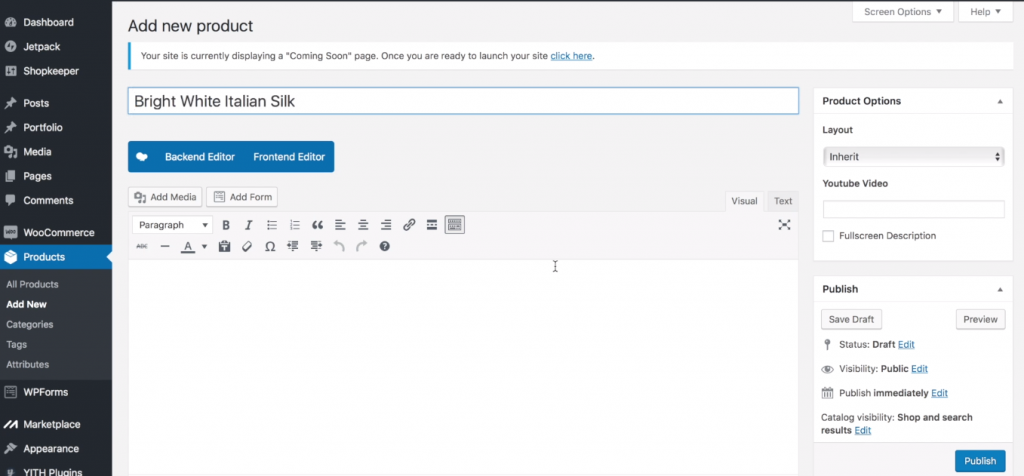
Now, we get to what the website is really about. This is the most time-consuming part of building your e-commerce website. First, add the products to your website.
Then you need to list the products.
[title text=”” style=”center”] [products ids=”##” columns=”6″] [title text=”” style=”center”] [products ids=”##” columns=”6″] [title text=”” style=”center”] [products ids=”##” columns=”6″]
Buying online is a gamble. Customers are unable to physically hold the product before purchasing. They cannot gauge the quality of the item, or whether it is worth the price they are paying.
Detailed descriptions and clear FAQs will help the customer make their decision.
To set up the FAQs page:

To add a Shipping & Returns page:
Do the same for the Terms & Conditions page.

At this point, it is a good idea to also set up a “Contact Us” page, as well. Customers need to know that they can communicate with you if, and when, needed.
There are a lot of other things you can add in a similar fashion, and once you reach a point where you are happy with the website you have set up, the final step is to test and deploy your website.
You can ask friends and family to access the site and provide feedback on whether the site looks good, or if it’s user-friendly and compelling enough to catch and keep their attention.
Ask them if they had any inconveniences while navigating through your pages, or if there are any bugs that you can sort out.
Once checked, it’s time to deploy and reap the benefits of all your hard work!
WordPress can be an important tool for startups and new businesses looking to expand online. If you are looking to build an ecommerce store this blog post will help you get the ball rolling.
However, if you find yourself struggling then please do not hesitate to reach out to us. We’ll have you up and running before you know it!
Have some tips and tricks on WP ecommerce set up? Tell us about them in the comments section below!

Leave a Reply